V2 MTB shim instructions
INSTRUCTIONS TO FIT
- Break shim into component parts and rebuild as required.
-
Decide which set of bolt holes on your shoes (front or rear) you’ll be using for your cleat bolts. The two anti-rotate posts on the shim cleat plate should then be inserted into the other set of bolt holes, either front or rear.
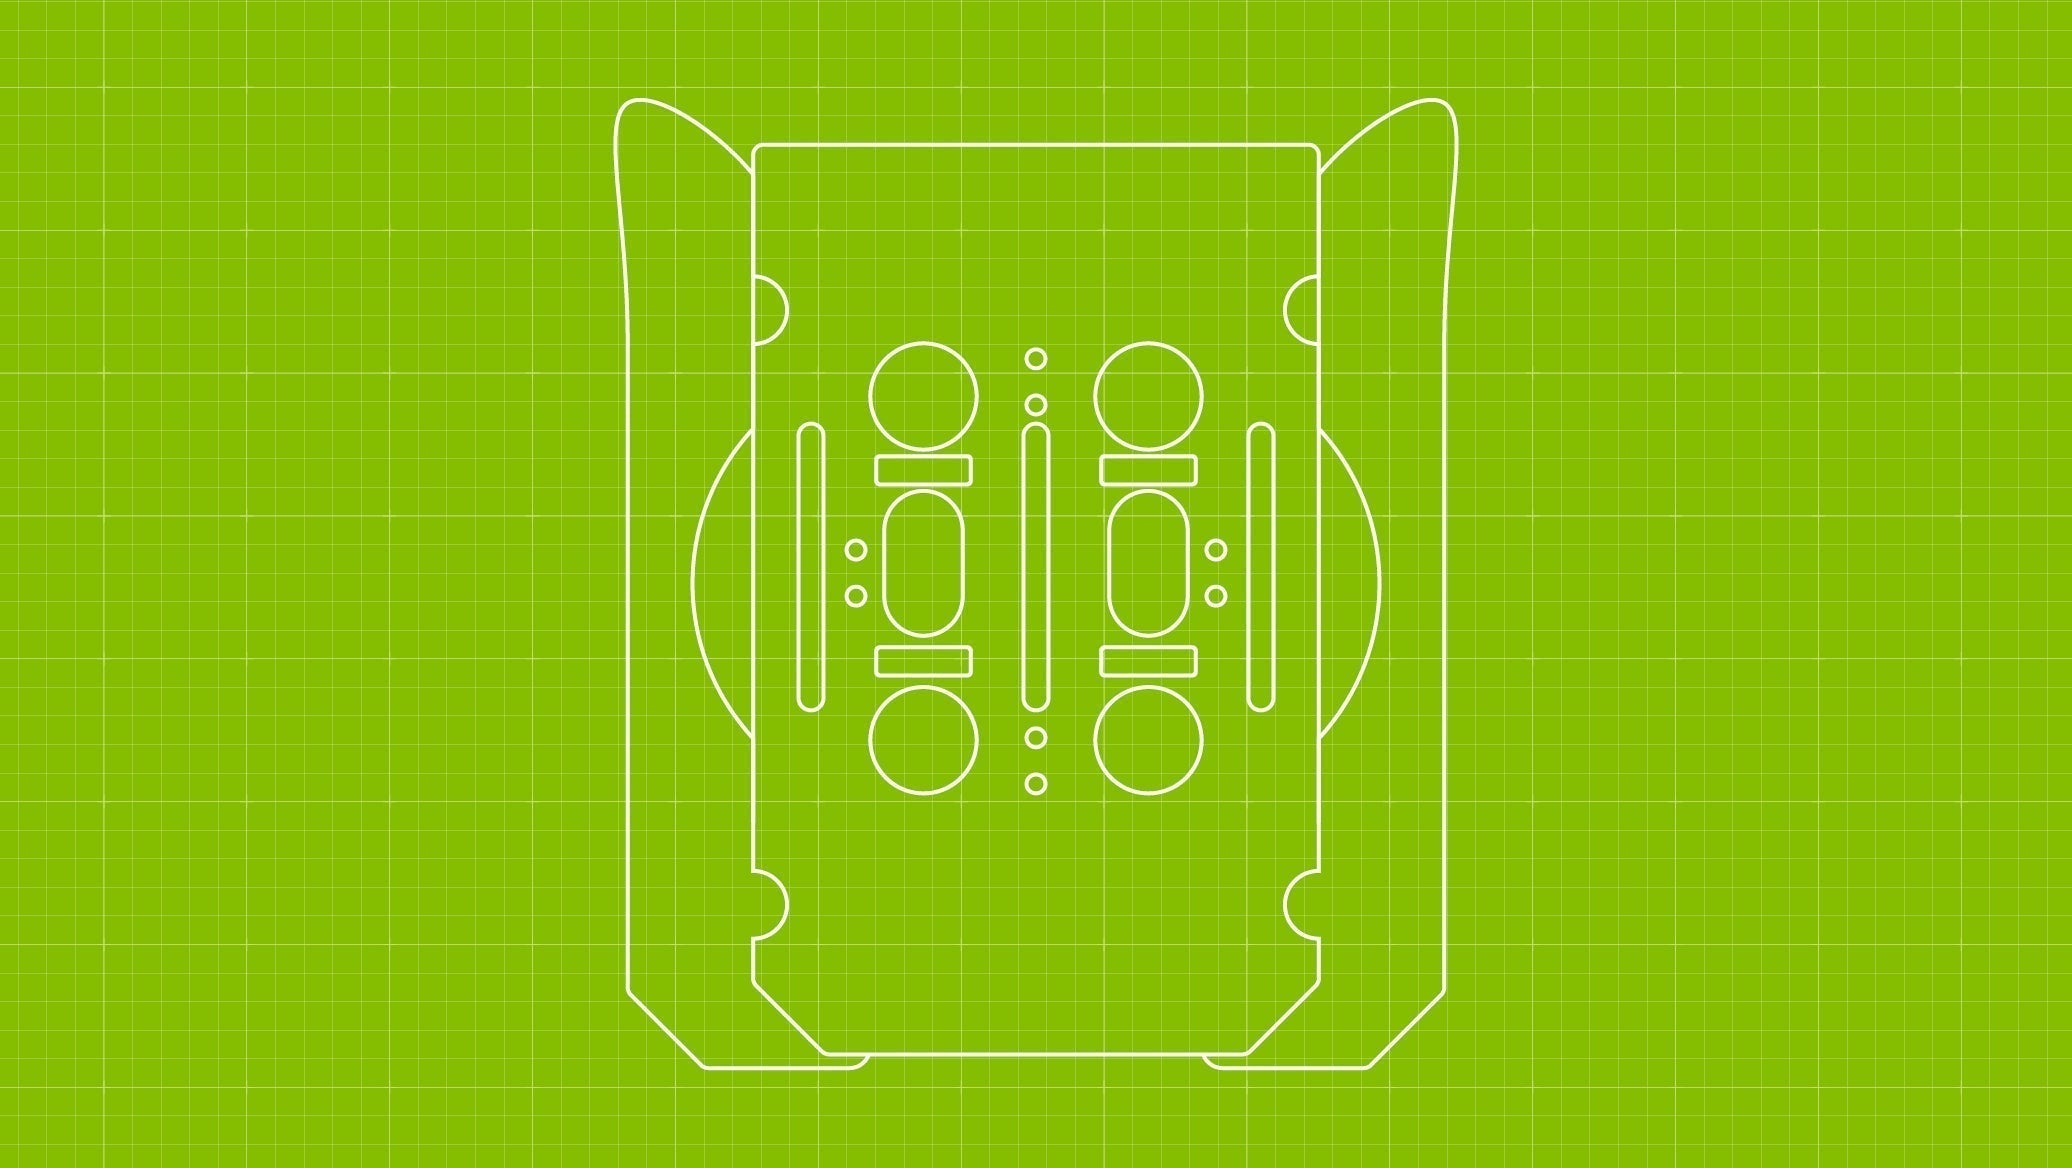
3mm - place the cleat plate into the main body orientating the anti-rotate posts to either the front rear set of round post holes. Press firmly, ensuring all 3 support fins are matched to their fin slots.
4mm – fit the cleat plate as per the 3mm setup then add the 1mm stacker to the shoe side of the shim.
5mm - fit the 2mm stacker to the main body, ensuring correct front/rear orientation. Align the stacker locating posts into their respective channels, align the 4x positioning tabs, then push firmly together ensuring there are no gaps. Then add the cleat plate.
6mm - fit the 2mm stacker to the main body as per 5mm, add the 1mm stacker to the shoe side of the shim. Then add the cleat plate. - Place the shim on the shoe ensuring the anti-rotate posts are inserted into the correct set of bolt holes on the shoe (front or rear - as per your choice above). The 4x positioning tabs will then fit into the long channels on the base of the shoe, in front and behind the set of bolt holes you have chosen for your cleat bolts.
- Place your cleat on the shim and put the 2x cleat bolts through it and the middle slots on the cleat plate. Tighten slowly, ensuring that the cleat plate tightens down against the main body evenly and with no gaps between the sloped front (where the arrow is) and the cleat plate.
TIPS
When using both the 1mm and 2mm stackers, always fit the 2mm stacker onto the main body first, then the 1mm stacker. It can be done the other way round but is less ideal.
The longer bolts supplied with the shim are inserted in the normal way through the cleat. With SPD cleats this would be through the oval washer and cleat, with Time ATAC and Crank Bros this would be directly through the cleat.
The plastic cleat plate should be fitted into the TPU main body, with the two long posts inserted into the unused set of bolt holes in the shoe, whether front or rear (rotate to front or rear depending).
Front and rear positioning tabs should be pushed into the two parallel slots in the shoe, in front / between or between / behind the 2x sets of bolt holes. These tabs do not go into the bolt holes.
EXCEPTIONS / TROUBLESHOOTING
Cleat position not far back enough: The rear set of positioning tabs prevent a stock MTB shoe bolt plate from being pushed all the way back. This equates to approx 4mm. If you need to position the cleats further back than the shim allows, you can trim off the rear positioning tabs with a craft knife. It is only advisable to do this after you’ve established the stack height you’ll be using, trimming only the part of the tab which protrudes. This will give you back the 4mm.
Narrow tread spacing at the rear: The V2 shim was designed with a very specific width and length to facilitate the use of a wider range of cleats and pedals compared with the V1 shim (SPD only). Some shoes are too narrow between the treads at the rear to accommodate the shim. This can occur either on a specific model of shoe as well as some of the smaller sizes. Solutions for this would either be to use the V1 shim (2.5mm narrower than the V2) or ask us for a custom solution.
Raised rubber section at rear of cleat compartment: If your shoe has raised rubber at the rear of the hard cleat fitment section this could negatively impact how the shim sits on the shoe (it needs a flat surface). This could be an issue depending on exactly where your cleat is positioned in relation to the raised rubber. If this appears to be the case feel free to send us a pic of the sole of your shoe and we can help in deciding what the best solution would be for you.
![]()