XPR and XPS extender plate instructions
OVERVIEW
The XPR and XPS plates offer both rearward and medial/lateral adjustment. Before you start you will need to establish which medial/lateral orientation you want them to be fitted. The same will need to be decided for the fore/aft positioning.
The cleats themselves will have some adjustment available once fitted to the plates (4mm fore/aft and 5mm lateral). This can be used to fine-tune the position after the plates have been fitted.
To achieve a wider stance width, use L IN / R OUT on the right-hand shoe and R IN / L OUT on the left-hand shoe.To achieve a narrower stance width, use R IN / L OUT on the right-hand shoe and L IN / R OUT on the left-hand shoe.
HOW TO FIT
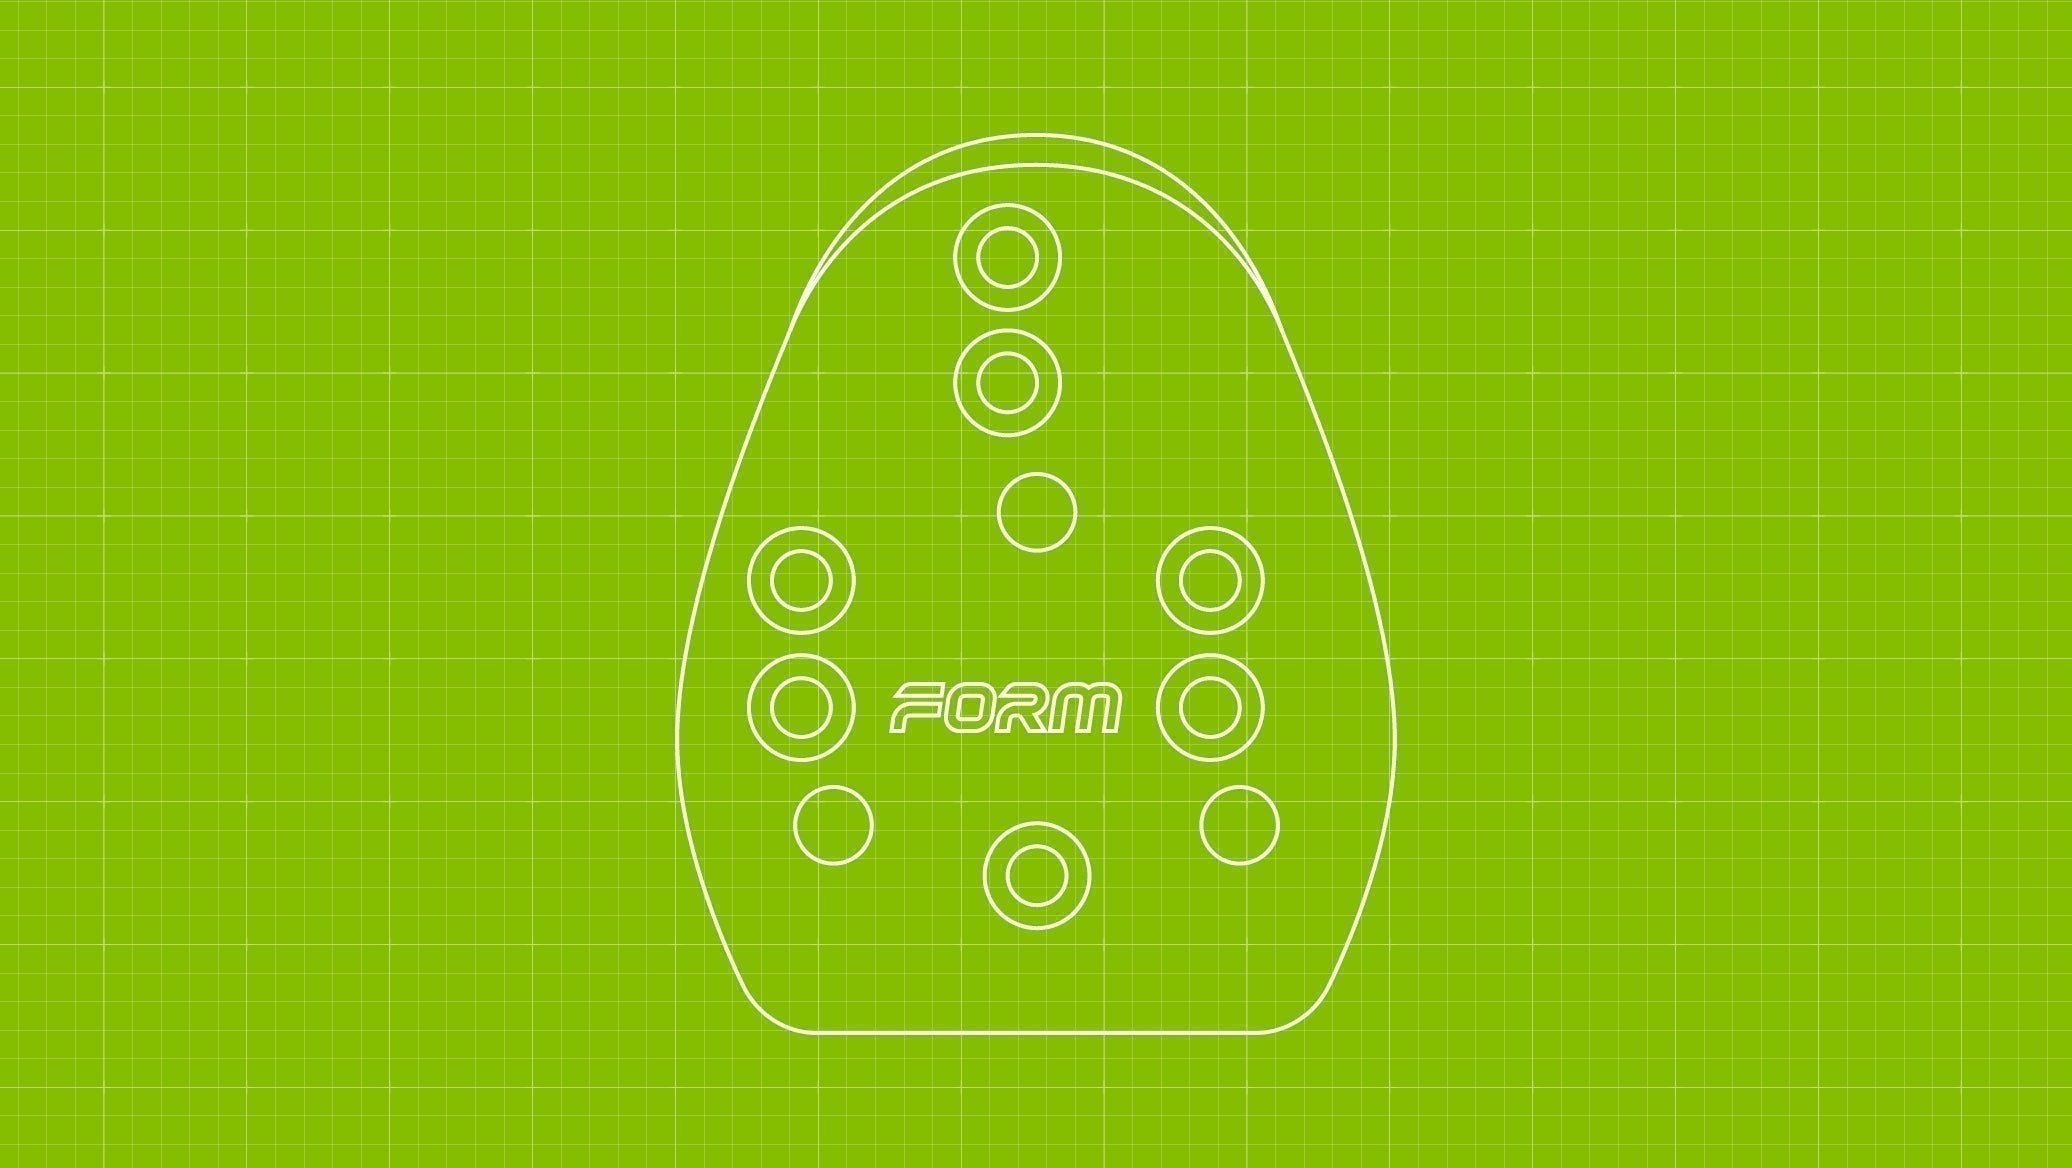
- Place the plate on the shoe and use the supplied countersunk screws to screw it to the three standard cleat holes in the shoe. Two lengths of screw are provided. Use the longest possible and tighten tightly to ensure the plate doesn't slip.
- Place the cleat on the plate over the threaded T-nut inserts.
- Now fit the supplied FORM cleat washers to the cleat. This is necessary in the case of Shimano SPDSL or Look Keo. If you have Time ICLIC you won’t need any washers.
- Use the button head screws to screw the cleat to the three threaded inserts on the plate. Two lengths are provided. Ensure the screw does not butt up against the sole of the shoe.
- Tighten the button head screws to 5Nm MAX 6Nm.
NOTES & TIPS
- Always mark the center (axle) point of your original cleat position before removing them from the shoes. Doing this will provide an easy way of comparing the new position with the old.
- Use the countersunk screws to attach the plate to the shoe.
- Use the button head screws & supplied washers to attach the cleat to the plate.
- Kits for Shimano SPD-SL or Look KEO cleats come with aftermarket washers. Kits for Time ICLIC are supplied without any washers. If you have other cleats and the washers don’t fit correctly please get in touch with us and we will supply you with an appropriate option.
